
Yesterday, we started trying to figure out how to get these joints square without a jointer. You can see the big gap we had between the boards, and we had to get that closed up.


In case you are wondering, this is a jointer. You put the board through on its side, and it squares the edge.

We had to come up with something else that would do the same thing, so Luis decided to use a router bit and a straight edge to guide.

First, he marked lines on the edge of the boards going from the opposite side to the width he wanted, knowing he was just going to shave off a little bit of the edge. Then, he measured from the line he drew, back the other direction 2 1/2" to compensate for where the router would sit.

Then he clamped a straight edge along that line to the wood and the table.

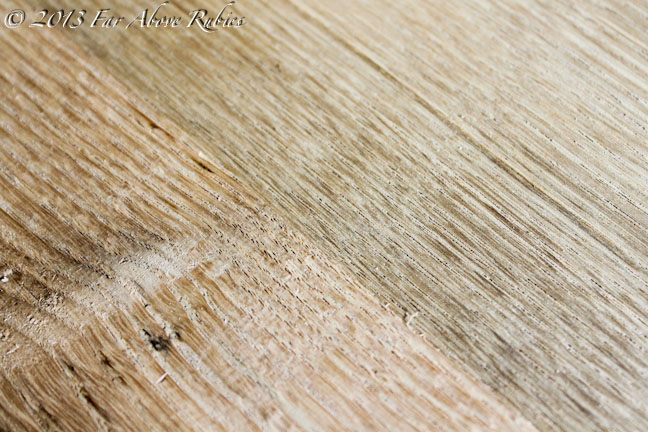
He made the first pass with the router, but you can see the bit was not long enough to get the complete width of the wood, so he had to make several passes and adjust the length of the bit to cut the entire edge.

You can see how rough that first cut looked...


I admit I was nervous when I saw that first pass because I thought it was ripping off the edges of the wood, but after several passes, it was clean and straight.

Because we did not have a long enough straight edge, we ended up using an aluminum ladder as a guide for the longest boards.

Good thing it was straight!

And after a lot of patience, it worked!! I was literally jumping up and down when I put those boards together and saw how perfect the joint was!! You cannot even tell there is a joint there, and that is exactly what you want, especially in a countertop.
Here you can see the difference from before.
And my excitement grew as we were able to roughly fit all the boards together and see what it will look like! And if you are wondering why that small hole is there, we cut one of the boards where the sink will go because we didn't have enough length. We will actually cut both of the inside boards out where the sink fits before gluing it together so the joints are even tighter.

Today we will be cutting holes for the biscuits and joining the boards with glue. This will make the joints really strong, and after 24 hours of drying, I can start the finishing process!!
Since I'm using trim from the old house as a backsplash, I will also need to strip off the old varnish so I can get the finish the same.
I cannot tell you how much I am enjoying the process. Luis is so patient, and that will pay off in the end. Making a countertop from old wood is not a couple hour endeavor, plus working around not having the right tools, makes it even more of a challenge, but in the end I will have something really special.
Thanks for stopping by:-)
You can see part 1,2,3 of the process HERE.
Anita
Hi Anita, I'm really enjoying your makeover. Since your making the counter top out of wood are you using a food safe varnish? Will you be able to use the counter top like any other counter top or will there be limits to how your able to use it? Thank you! Have a great day!
ReplyDeleteHi Jen, I chose the finish based on durability, but in a water-based polyurethane for floors. I never, ever put food directly on my counters. I have a big marble board I use for making sandwiches, etc., and a wood cutting board for veggies etc., so that really wasn't an issue for me. I also never cut anything on the counters since I have had laminate in this house. I will post what I chose later tonight...those photos are still in the camera. Thanks for asking:-)
DeleteSo exciting when you accomplish something like this and conquer the beast, I cannot wait to see how this looks when it is finished, I think it will be a huge wow, love the old wood...thanks for showing us
ReplyDeleteMy hat is off to both you and your husband in this HUGE endeavor! That much patience alone is a miracle! But oh, the joy you will have when they are completed.... and personal satisfaction. I can only imagine your excitement! Vicki in Lou. KY.
ReplyDeleteWhat a wonderful project. So happy for you, and you both are so gifted,and patient. Thanks for all how too's also.
ReplyDelete